
How do I Sign Up for Zoho Campaigns?
Exploring the Homepage
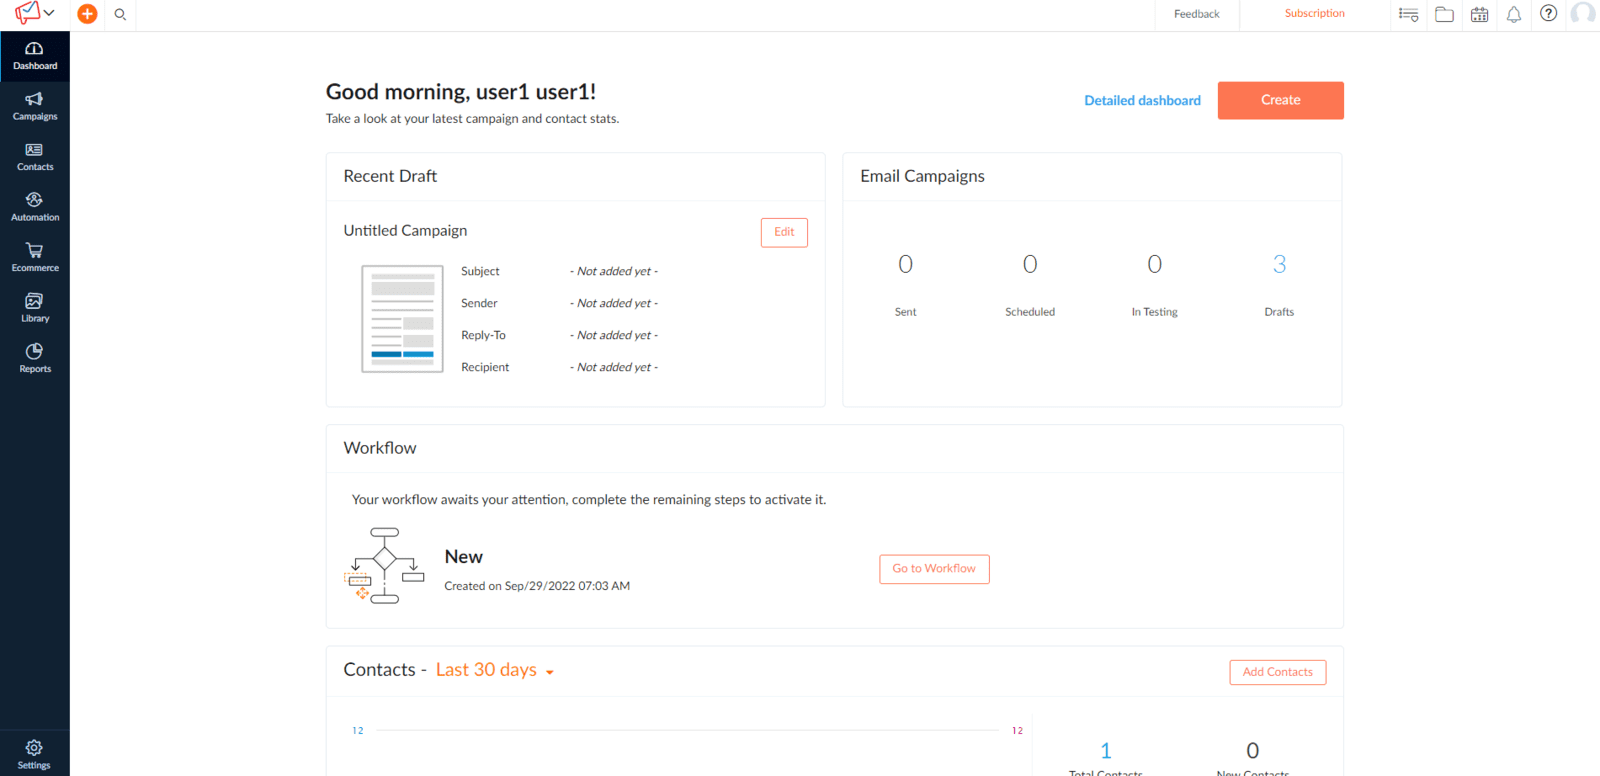
After logging into your Zoho Campaigns account, you can start building a mailing list or sending out an email campaign. This welcome page has a lot to offer:
The Navigation Toolbar
located on the left side of the screen, provides quick access to various Zoho Campaigns features by way of tabs.
Global Search
Global search allows users to search for data across the whole product. Global search provides results that include your search keywords, followed by relevant information based on campaigns, lists, and subscribers, among other things.
Subscription Menu
Users can select from a variety of subscription plans in this menu. Here, users can upgrade to a suitable subscription plan that matches their needs.
Manage your Notifications
You can choose to receive notifications when your email campaign is sent, reviewed, paused, or cancelled. You can also get notifications when contact imports are complete, cancelled, or remain unfinished.
Access Zoho Knowledgebase
Please use this quick link to access our help guides, knowledge bases, blogs, and user communities to seek assistance. Zoho Campaigns users are invited to participate in our user community and share their strategies for using Zoho Campaigns.
View Your Profile
You can view your profile information such as your email address, user ID, and account information here.HOW TO SETUP YOUR ACCOUNT
You must provide your company and personal information once you create an Zoho Campaigns account. From the Navigation bar, click Settings to do so.
Company Information
Provide company information including company name, mailing address, website address, phone number, and logo design.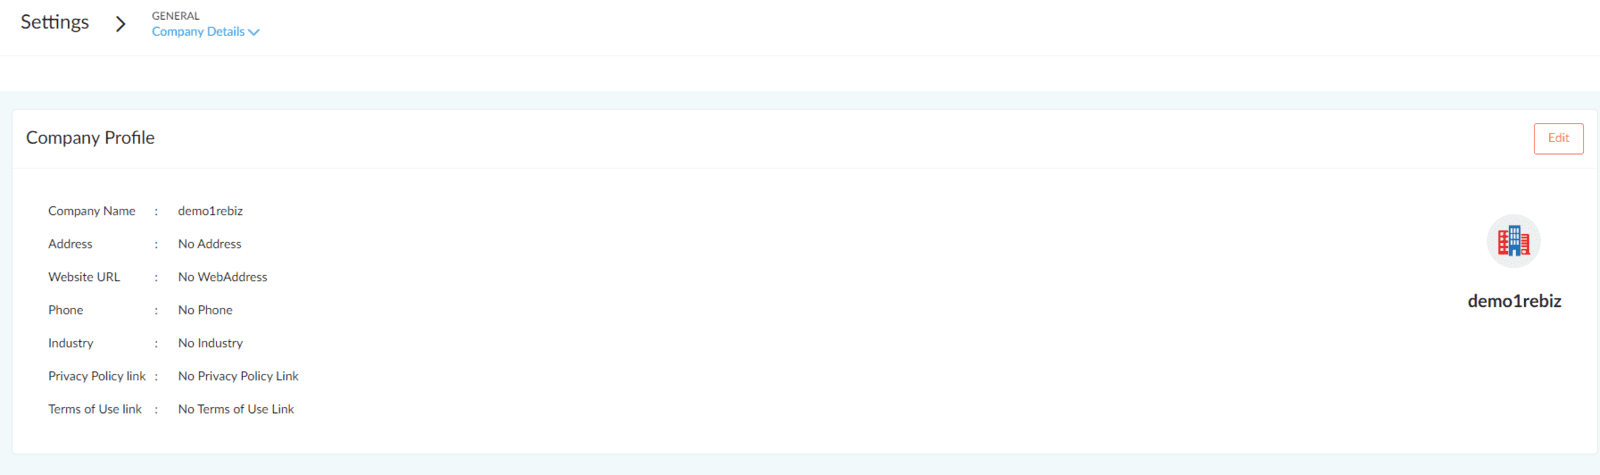
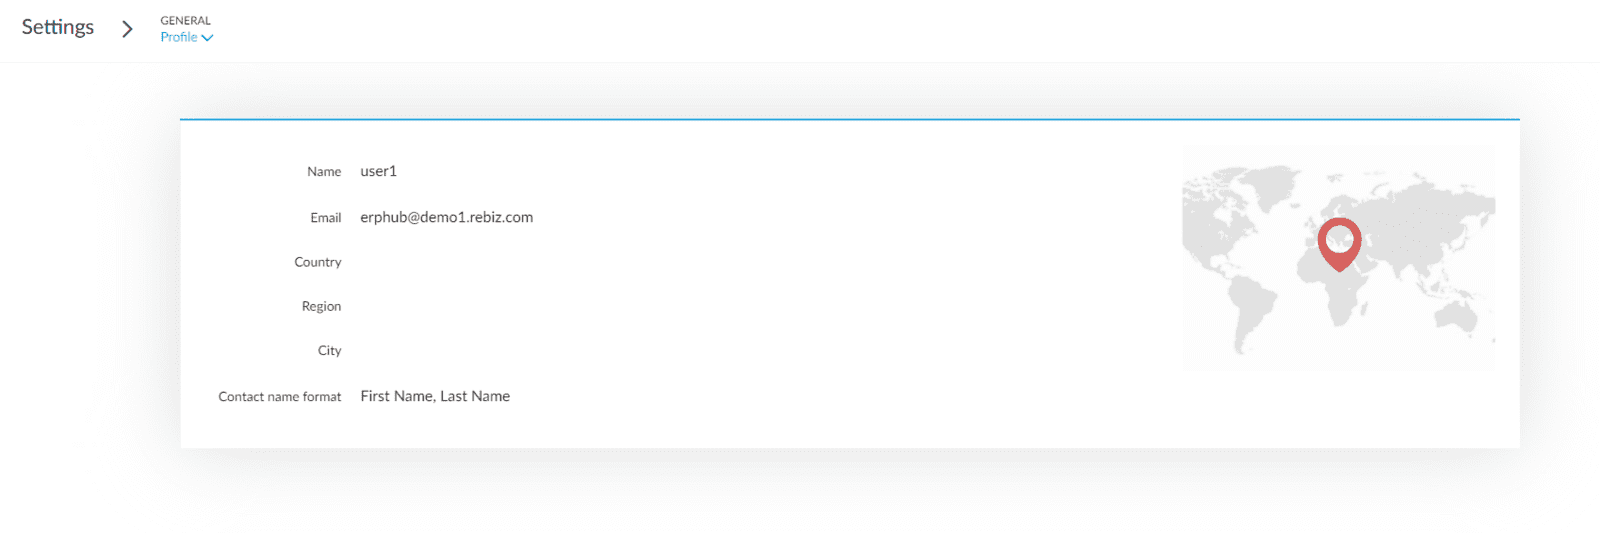
Your Personal Information
Add name, email address, country, region, and city information to my profile.
CREATE A MAILING LIST
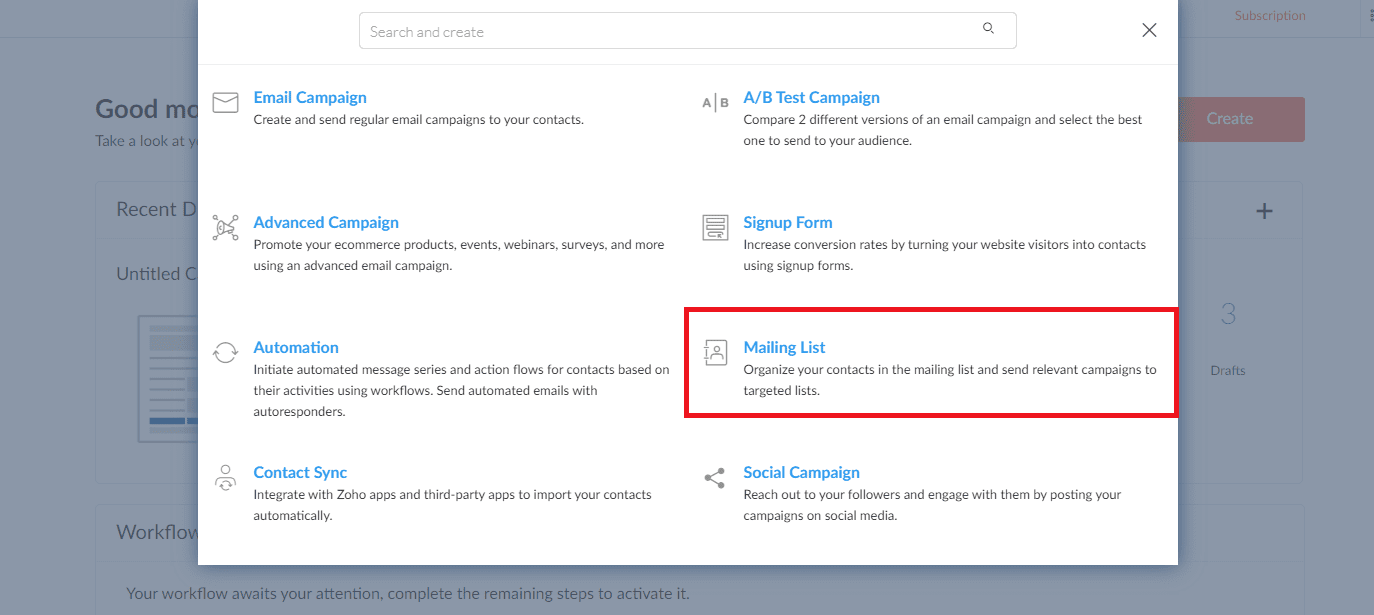
After you create your Zoho Campaigns account, we will take you to our welcome page, where you can start building your first email list or creating your first email campaign.
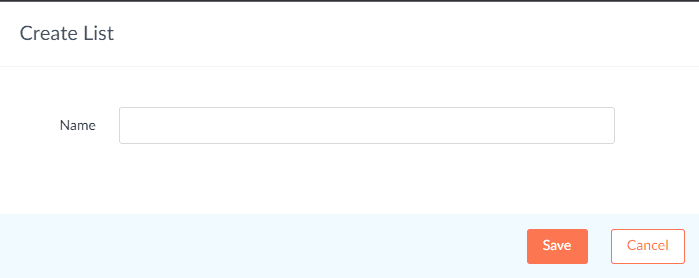
Click the Create button on the Welcome page and select the Mailing List option to create a mailing list. The Create List page will appear.
You can specify these factors/options:
Name
This is the name of your mailing list, for internal reference.
Once you have created your mailing list, there are multiple ways that you can use to add subscribers to this list.
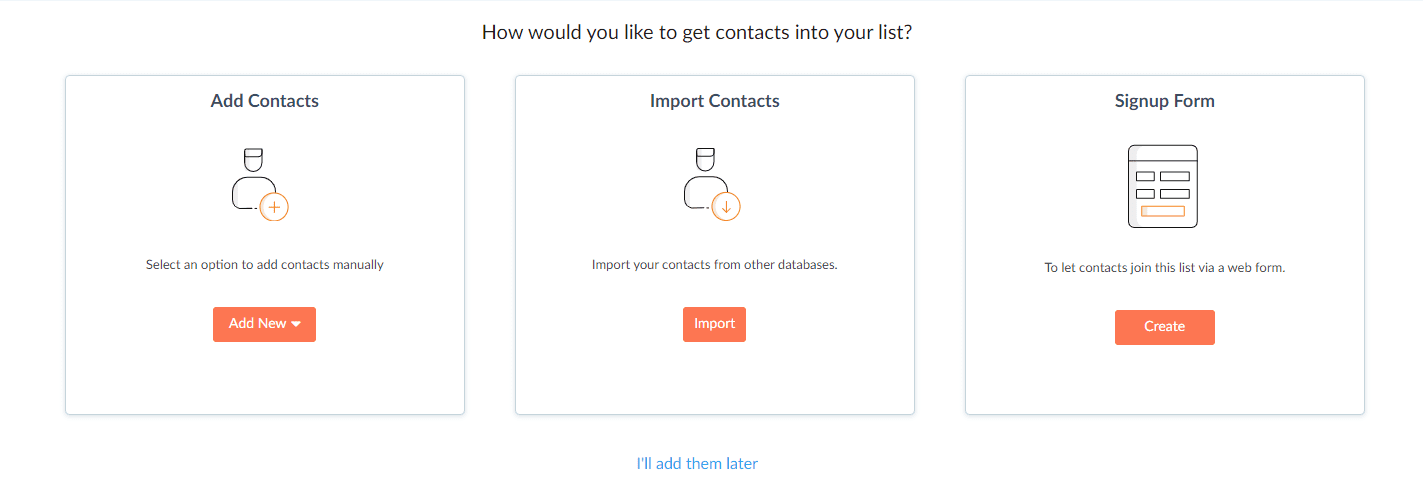
Add Subscribers
Manually add subscribers using this option
Import Subscribers
You can also import the subscriber list via your computer, Google Sheets or Zoho CRM.
Add Signup Form
You can gather subscriber data from various sources using the sign up form.
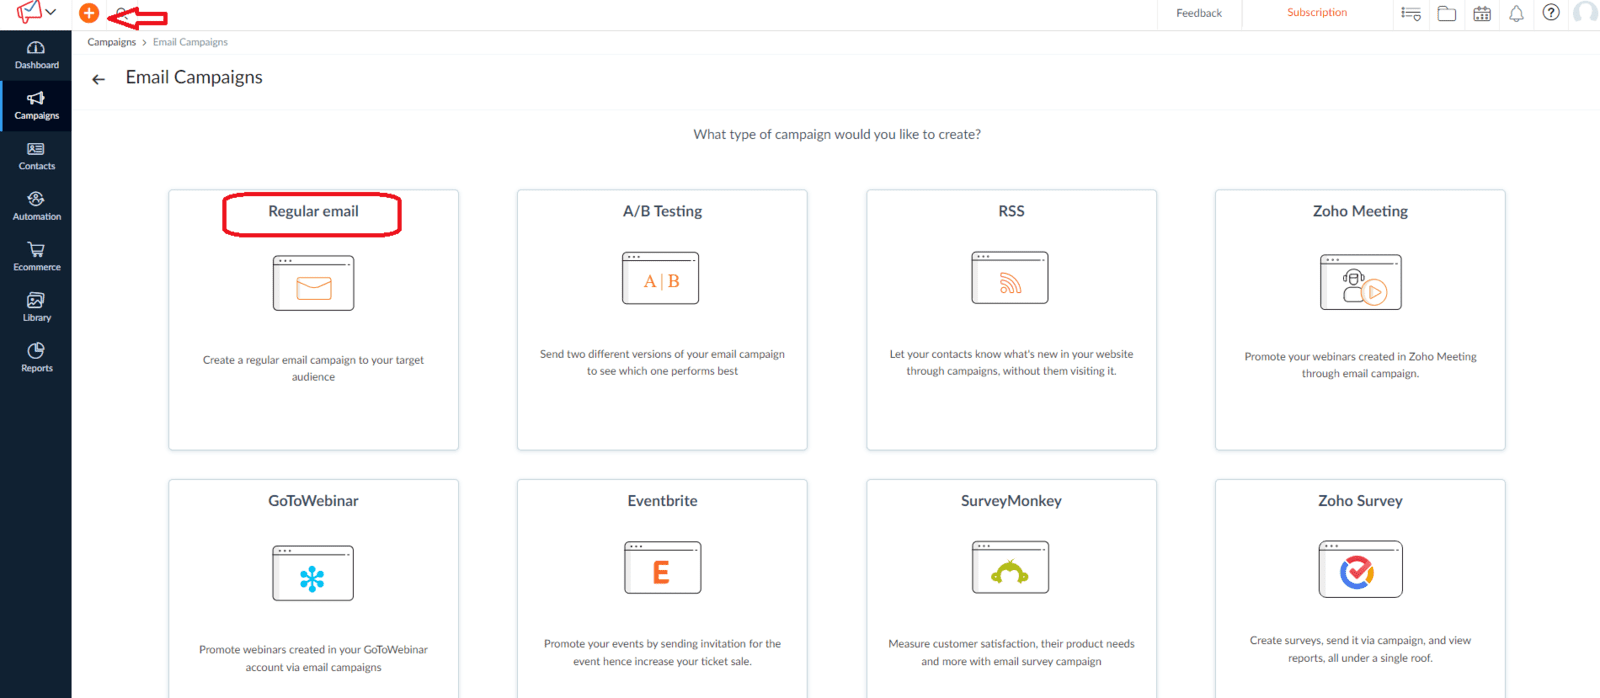
Creating your First Email Campaign
For the purpose of this tutorial, we'll be creating a Regular Email Campaign. To get to the window below, simply click the plus (+) icon and select Email Campaign from the dropdown.

Give your campaign a Name
Click the Create Campaign button and it will open the info page where you can enter the following information.
Name
Select something that is recognizable. For example, if you're planning to send out a newsletter, be specific like "XYZ Newsletter June 2022" or something similar.
Topic
Select the revelant topic that the email will be a part of. Think of this like a category. It's better to set these up in the beginning to keep things organized.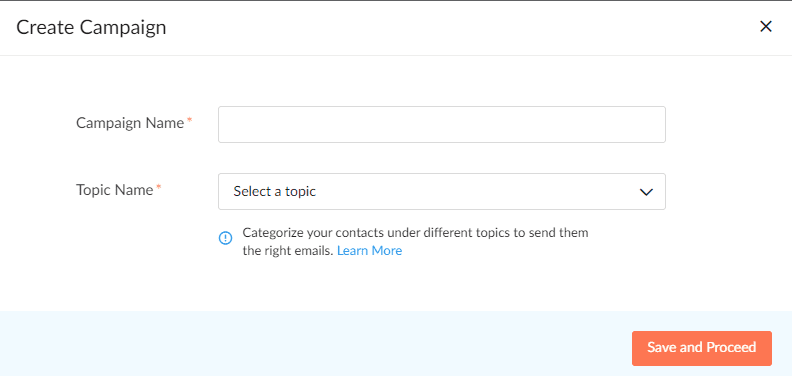
Subject
Choose a catchy subject line. A well though out and clever subject line is what makes or breaks an email campaign in terms of open rate.
Send Name and Email Address
Enter here the name and email of the sender. Choose a name that your subscribers are already familiar with. If this is your first time, choose a memorable name. It could be either your brand name or a spokesperson.
Address Recipients by Name
Personalize your emails by addressing your subjects by their first name.
Use Sender Details from Zoho CRM
If the recipient was imported from Zoho CRM, you can personlize the sender name based on the account owner present in the CRM. This is especially useful when you're sending out follow-up emails to potential leads.
Email Body and Content
There are several pre-made Zoho Campaigns email templates available for you to use. Pick the one that best suits your requirements, then make some adjustments to personalize it for your company's voice.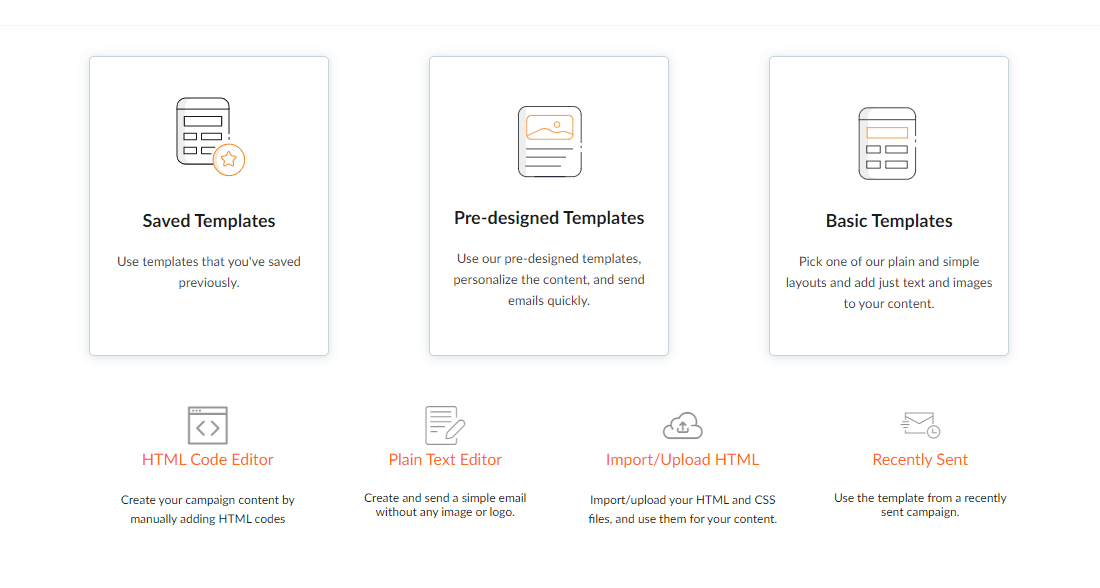
If you are creating your first email campaign, we advise using a basic template. Besides selecting a template, you can use the Template Editor to insert photos, text, buttons, and anchor tags, among other things. Make your email layouts more flexible by using the dropdown menu.
You can also add any pre made content that you have already designed using HTML Editor or Text Editor. You can also Import/Upload the HTML content from your desktop or cloud services such as Google Drive or Zoho Docs.
Furthermore, you can also duplicate the content from Recently Sent campaigns and use it for your new campaigns.
Always Preview and Test your Emails
Before you distribute email newsletters to your clients, read them aloud several times then ask a few of your colleagues to proofread them. Verify that the links are directed to the proper page by checking for grammatical errors, alignment issues, and grammatical mistakes.
Select your Recipients
Before you can send out your campaign, you must have a list of people to whom you can send emails. You can import your contact list from a Google spreadsheet saved on your computer or from a Google spreadsheet saved in the cloud to save it as a mailing list.
Use social media to advertise your campaign
Link your Zoho Campaigns account to your social media accounts (for example, Facebook, Twitter, LinkedIn, Google Plus, and Pinterest). Simply share your email campaign with your followers.
Sending your Email Campaign
Before you distribute your email campaign, utilize the Send for Review function to guarantee that it reaches the recipient's inbox rather than spam folders. Our moderators check your subject line, mailing list, and material for spam compliance. This method will provide you with the most exposure and attention.
Measuring the Results of your Campaigns
Monitoring real-time information like opens and clicks will help you optimize future emails. Assessing your campaign results will help you figure out the things that went right and those that didn't. Based on this information, determine what you should do for your next campaign. Monitor and obtain information on the following metrics:
1) Total number of emails sent
2) Total opens and clicks
3) Total number of unsubscribes and complaints
4) Campaign reach on social media
5) Campaign opens based on locations.
Once you have accomplished several campaigns, this information will assist you in refining and enhancing your targeting strategies.
Final Words
Congratulations! You just sent out your first email campaign using Zoho Campaigns. We hope that this guide will act as a stepping stone to you becoming the most awesome email marketer in the world!
In the future, we will keep on adding nifty tips and tricks to turn you into a Zoho Campaigns Guru. So, keep visiting the Erphub Blog regularly.